How to Use Gel Stains

Staining wood is the best way to get a natural look while altering the color or bringing out the grain pattern. Since stain products soak into the wood and offer a translucent color rather than the opacity of paint that sits on the surface, they’re much more flexible in how they look when finished. Yet, it’s also a little trickier to apply a stain product since it begins soaking in immediately, and adding another coat darkens the color. Gel stains are an alternative to the usual liquid stains that aim to make even application a little easier due to a thicker texture that spreads more easily. They’re also more versatile, working well on materials like metal, Masonite, and even previously painted surfaces. Figure out if gel stain is right for your project with this guide to preparing for and using it.
Gel Stains vs. Wood Stains

Both stains are available in most colors, but they vary the most in texture. Gel stains are thicker and spread easily across less porous surfaces. Liquid stains work well on porous materials like wood, but they don’t absorb well into painted or metal surfaces. The gel does less to bring out the wood’s natural grain. This can be good for smooth materials like hardboard or Masonite that lack a texture to bring out. Gels aren’t quite as thick as the name might suggest once they’re properly mixed, but they’re usually as thick as oil and far more viscous than water-based liquid stains. However, this also makes cleanup a little more work at the end of the project. And as with all stains, you can only darken the wood and must start with sanded or bleached surfaces to get a lighter finish.
Preparing a Surface for Gel Stains

One major benefit of choosing a gel stain is reducing the preparation of the surface. Liquid stains must soak in well, so they must be applied to wood that was sanded down to a raw surface. Gel stain is easily applied over a surface that is only lightly sanded, even if it was previously painted or is a non-porous material like metal. It’s possible to leave cabinets, doors, and other items installed vertically in place during application with relatively few drips and streaks. However, remove what materials you can to stain them horizontally for maximum control over the application.
How to Apply Gel Stains

Shake, then stir the gel stain until it is smooth and slightly thinner than it started. Each product varies in the final consistency, but it tends to vary between syrup and a runny gel. Check the product’s instructions for more information on what to look for to verify complete mixing.
Unlike with liquid stain, using a fine bristled paintbrush is acceptable to apply gel stain since it’s applied much more thickly. Wear rubber or nitrile gloves to protect your hands. However, you’ll need a lint-free cloth to dab up drips, streaks, and thick areas while the gel is drying. Simply use the paintbrush or a cloth wrapped over your fingers to spread an even layer of the gel stain over the surface that needs color. Don’t work it into the surface too hard, or it could result in uneven coloration. Use a lint-free cloth to dab up any excess stain that has accumulated in crevices, along edges, or where the stain has dripped.
Apply subsequent layers of gel stain after the initial coat has a chance to dry fully. This can take 8 to 24 hours, depending on the product and the humidity level. Use a thinner layer of the stain for second and third coats, buffing it on with a cloth rather than a brush. This builds the color without leaving brush marks that create a paint-like look.
Cleanup Options after Using Stains

Unlike water-based stains that are often easily cleaned up with soap and water alone, gel stains need mineral spirits for cleanup. Clean any spilled or dripped stain immediately with the mineral spirit to prevent staining. Use a canvas or plastic drop cloth where you’re working to protect flooring, countertops, and other materials. Take furniture and small objects outside for easy staining. It’s possible to use a brush dipped in mineral spirits and then dried down to damp with a rag to even out areas of gel stain that are too thick and have started to dry. However, streaking can worsen from too much attempt to even the finish, so settle for natural variations based on how the gel dries.
Finishing and Sealing Gel-stained Wood

Gel stain sits on the surface, much like paint. So it needs to be protected by a sealant over the surface. Polyurethane is a common choice available in both matte and glossy options. Shellac, varnish, and even epoxy-based clear sealants can work well. Choose a sealant based on its protectiveness of the surface and the finished look it offers.
Practice with small wood objects like picture frames or old cabinet doors to develop your gel stain application skills. More forgiving to work with than liquid stain, these thicker products give you new opportunities to create finishes that are somewhere between the full translucency of liquid stain and the opaque look of paint.
While do-it-yourself projects can be fun and fulfilling, there is always a potential for personal injury or property damage. We strongly suggest that any project beyond your abilities be left to licensed professionals such as electricians, plumbers, and carpenters. Any action you take upon the information on this website is strictly at your own risk, and we assume no responsibility or liability for the contents of this article.
Related Articles

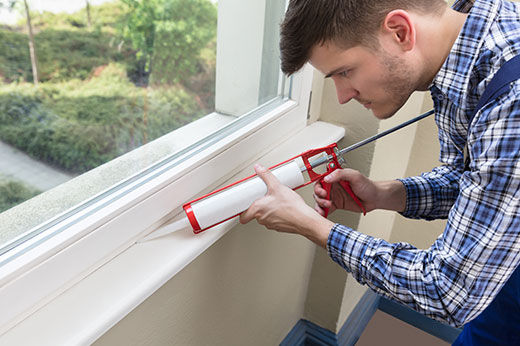
5 Tips to Caulk Like a Pro
Learn how to get the perfect bead of caulk for a professional-looking finish!
Learn more
5 Things to Do Before a House Appraisal
If you're new to the home appraisal process, it can be a bit daunting. Today, we'll explore what a home appraisal is, how to prepare for a house appraisal, and give you five must-dos to help the appraiser see your home at its best!
Learn more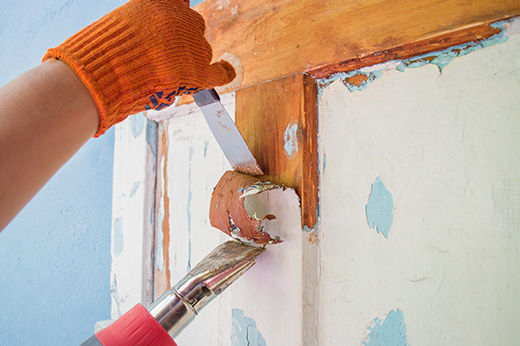
5 Ways to Remove Paint from Wood Surfaces
Looking to clean up old painted wood for a refinish or stain? With Do it Best, discover the top five best methods for easily stripping paint from wood!
Learn more
Gorilla Glue Buying Guide
Easily find the best adhesive to meet your next DIY project needs!
Learn more